|
|

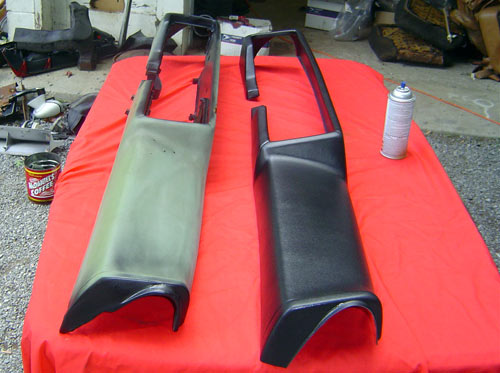
HOW TO: install & vinyl dye a '79-'81 Camaro dash cap.
This will guide you step by step to cap the dash on your 79-81 Camaro in
under 30 minutes start to finish.
While we did this dash out of the car, there is no need to remove your dash to complete this capping prcoess!
We offer these units for sale as well, so check out our PremiumFbodyParts Online Store and order one today!
-[ CLICK pictures for larger images ! ]-
1) YOU WILL NEED THE FOLLOWING TOOLS:
* Normal-Tipped Phillips Head Screwdriver
* Large-Tipped Phillips Head Screwdriver
* Thin-Tipped Regular Head screwdriver
* SAE 3/8" Socket Set & Ratchet
* Standard Sized C-Clip Remover
* Modelling Knife -OR- Razor Blade
* Paint Thinner -OR- Rubbing Alcohol
* SEM Brand Vinyl Dye -OR- Comparable Brand
|

|

|
2) IN-CAR DASH CAP INSTALLATION - If the dash is still in the car, follow these instructions.
Trim removal, while you do not need to remove the dash
from the car, the side windshield trim (A-Pillar posts) need
to be removed.
First remove the upper front headliner trim; this is held in place by 4-6 screws. Once removed, pull the door weatherstripping to the side to reveal a small bolt on the under side of the A-pillar post. Remove this bolt on
each side.
Next on a t-top car, you will simply unscrew the
upper corner Y-piece that is located at the top corners of
the doors by the windshield.
If a hardtop car, the screw is in the same place... BUT, you will also want to pop off 2 of the 3 trim clips that connect the headliner trim piece that's above the door. You can do this with various tools or by hand; just be
gentle and do not break the clips.
Now once the upper trim is removed, slide the A-Pillar posts up and out of the
way. This exposes the far edges of the dashboard.
|
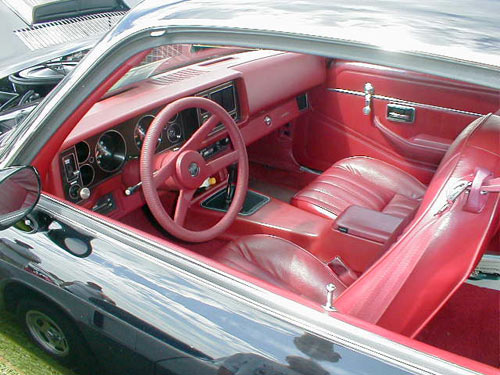
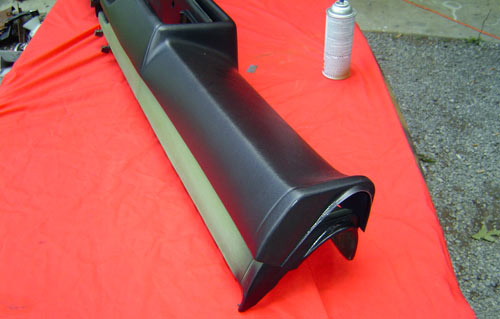
3) UPPER DASH PREPARATION - The dash caps come in black from the factory, so if you desire another color dash you will want to redye the unit to your color of choice.
SEM brand makes a variety of colors and we can order the
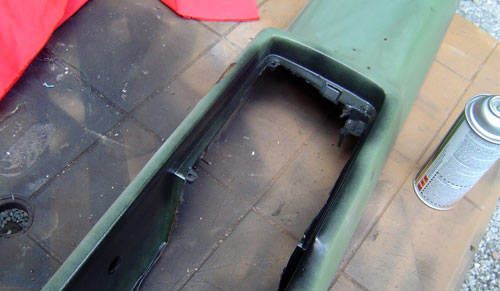
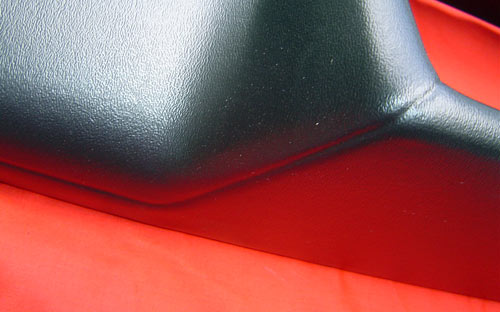
dye for you if needed. You will also need to redye the inner
lip of the dash board, as detailed in the picture to the right. The cap wraps in around the cluster and bezel area, but does not extend all the way in.
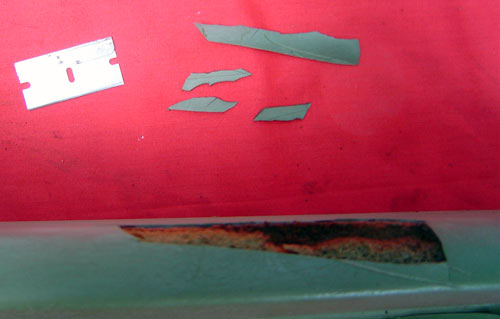
Once you have redyed the inner dash area, you will want to also trim any high spots of the dash down using a modelling knife or razor blade. It is not nessessary to back fill the area with putty or fillers, you simply want it flush with no high spots.
DON'T forget to clean/degrease the dash prior to vinyl dying it !!
I use a enamel paint reducer or paint thinner, as this cleans off any old Armor All and/or residue that'll interfere w/ the spray dash dye product. Let the upper dash dry before paint.
|


|


|
4) GLUE APPLICATION & DASH CAP FITMENT - Laying the glue can be a tricky task. These caps fit very tight already, so use
only small beads of glue... NOT THICK beads! There is no art in
this, just lay about 5 beads that run across the upper, mid,
and lower portion. You can spread them some for more
coverage also. In addition, our cap kits include the adhesive.
Fitting the dash cap couldn't be easier. Place the cap onto the upper dash and slide in down into place, making sure there is no gap showing. Press firmly around the dash bezel area, ensuring a proper fitment.
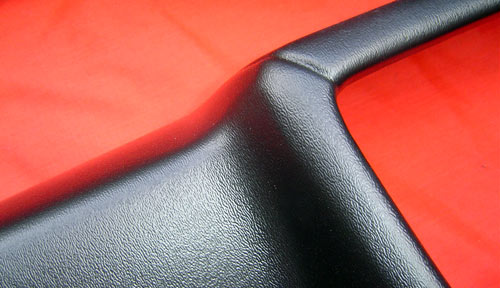
As you can see, the cap fits nicely and surrounds the dash
very well. Notice the lip left open/exposed by the cluster area.
Let dry for 4 hours (at most) and then secure the interior
trim pieces removed. (A Pillar posts and upper trim).
That's it, you're done !!
|
We at Fbodywarehouse hope this restoration tip helps in the preservation of your Fbody!
|
|
|
 Home
Home  About
Us
Contact Us
About
Us
Contact Us  Pace Car Registry
  Site
Map
Site
Map